Did you know personalized emails are no longer just a nice touch—they’re an industry standard?
If you’re still blasting the same content to your entire email list with every campaign, you’re running the risk of email fatigue and unnecessary unsubscribes.
As per the 2023 State of Email Workflows Report, 80% of customers are likelier to purchase after a personalized experience. That’s huge! And with 64% of companies already using dynamic content in their emails and 55% of brands ramping up their personalization efforts this year, the competition is heating up.
If you find yourself in the remaining 36% of marketers who aren’t fully utilizing email personalization, don’t worry—we’re here to help! Personalizing your emails doesn’t have to be hard. There are some pretty straightforward ways to go beyond just using a name.
In this blog, we’ll guide you through practical steps to leverage email personalization with Mailchimp. Mailchimp has a treasure trove of built-in features to take your marketing campaigns to the next level. You’ll learn how to create tailored email experiences that engage and convert your audience, ensuring you stay ahead in the competitive landscape of digital marketing.
Practical Tips For Email Personalization In Mailchimp
There is certainly no shortage of elements you can personalize in your custom-coded Mailchimp email templates. We’ll give you a rundown of the most common practices to personalize your email campaigns in Mailchimp.
1. Using Merge Tags
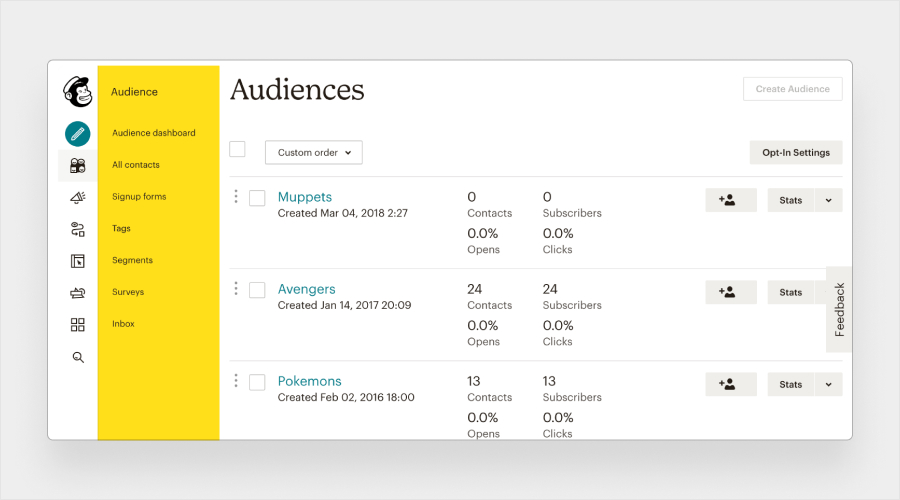
Image Source: Chimpmatic
Mailchimp’s merge tags are game-changers for email personalization. They dynamically insert subscriber information into your emails, creating a unique experience for each recipient.
Think of merge tags as placeholders. They pull subscriber-specific information stored in your Mailchimp audience fields, such as a subscriber’s Name, email address, or custom details you’ve gathered.
Some of the most common merge tags used for email personalization in Mailchimp are-
- First Name: |FNAME|
- Last Name: |LNAME|
- Email Address: |EMAIL|
- Location: |ADDRESS| (or |CITY| and |STATE|)
- Birthday: |BIRTHDAY|
- Custom Fields: Custom merge tags that you define based on your data fields, such as |PREFERENCE| for product preferences.
Using merge tags can transform your emails from generic blasts into personalized messages that make your subscribers feel special.
Here are some tried-and-true strategies for using merge tags effectively:
Personalized Subject Lines and Greetings
Subject line personalization is by far the most common place for email marketers to personalize email content.
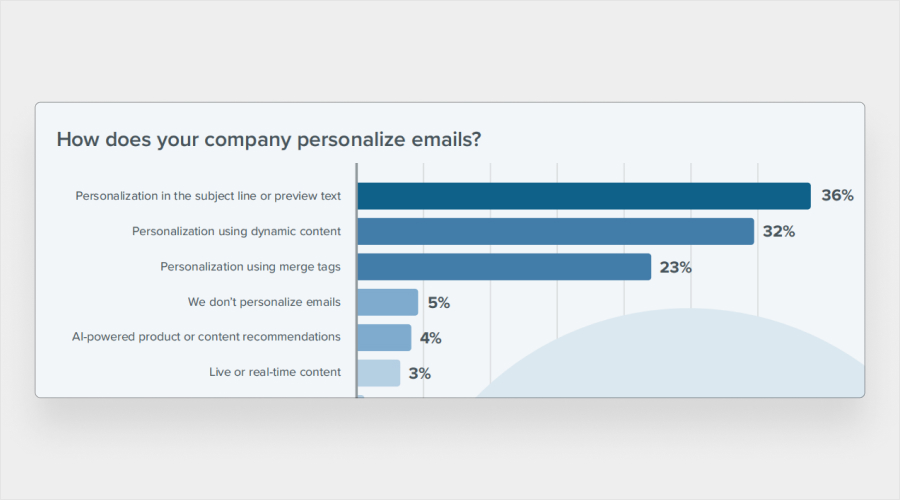
Image Source: Litmus
So, address your subscribers by Name in the subject line and send a greeting. For example, “Hi |FNAME|, check out our new arrivals!” This little touch can make a big difference.
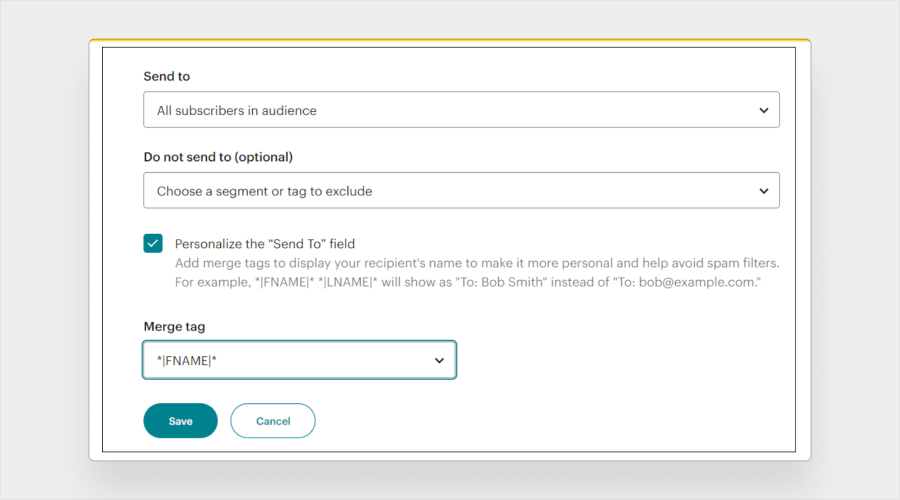
Image Source: Email Uplers
Targeted Content for Different Audiences
Segment your audience based on interests and use merge tags to deliver relevant content. Imagine emails with product recommendations based on past purchases – that’s powerful!
Dynamic Content Display
Use merge tags to show personalized product recommendations, event dates, or location-specific info. Imagine sending an email with event details tailored to the recipient’s city or suggesting products based on past purchases—now that’s personalized!
Urgency and Scarcity to Drive Action
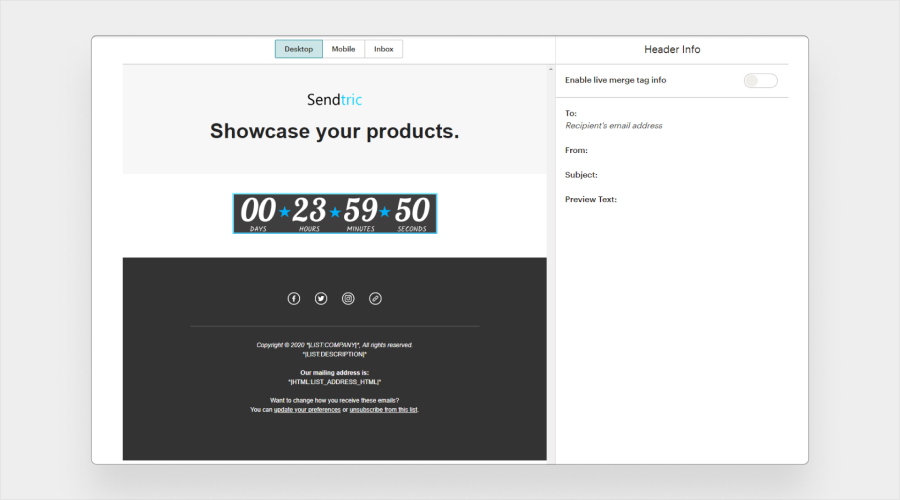
Image Source: Sendtric
Use merge tags with countdown timers for limited-time offers or showcase limited inventory to create a sense of urgency.
Some best practices for using merge tags for email personalization with Mailchimp–
- Ensure your merge tags are formatted correctly (|FNAME|) and match the corresponding audience fields to avoid awkward mishaps. This avoids any embarrassing glitches like [insert first Name here] moments.
- Set default values to prevent blank spaces. If a first name is missing, use “Valued Customer.”
- Thoroughly test your emails before hitting send. This ensures that merge tags work flawlessly and display the right information.
- Don’t overdo it! Excessive personalization can feel creepy. Use merge tags strategically to enhance, not overwhelm.
For example, instead of saying,
“Hey |FNAME|, Remember your recent purchase of |PRODUCT NAME| from |DATE| at |TIME| 😉 We have some similar items you might like based on your browsing history at *|2:34 AM| this morning… Don’t miss out!”
You might say,
“Hi |FNAME|, We noticed you recently checked out the |PRODUCT CATEGORY|. We think you might also love these new arrivals in the same category!”
2. Audience Segmentation
Image Source: Mailjet
Audience segmentation is all about dividing your subscribers into smaller, more targeted groups based on shared characteristics or behaviors. Why does it matter? Because sending the right message to the right people at the right time can skyrocket your engagement and conversion rates.
Getting Started with Segmentation in Mailchimp
Identify Segmentation Criteria
The key lies in understanding your audience. Consider demographics (age, location), purchase history, website behavior, or sign-up source.
Take a peek at Mailchimp’s pre-built segments for some inspiration. Whether it’s targeting engagement levels or predicting your customers’ lifetime value, there’s a segment for every goal. And hey, if you’re feeling extra fancy, the Premium plan unlocks even more advanced segmentation tools to play with.
Build Targeted Segments
Mailchimp offers a user-friendly interface for creating segments. Just head over to the “Audience” section and click “Create Segment” to define your criteria. Whether you’re filtering by date added or specific campaign interactions, Mailchimp’s got you covered. And don’t worry; you can always preview your segment before hitting save to ensure it’s just right.
Send Tailored Messages
Now, let’s put those segments to work. Want to send a special offer to your most engaged subscribers? Just choose your segment, select your campaign type, and voila – you’re ready to rock. With segmentation, you can send personalized messages that resonate with each group, whether newbies, window shoppers, or loyal fans.
Advanced Segmentation Techniques for Email Personalization with Mailchimp
Don’t limit yourself to basic demographics! Mailchimp’s power lies in its ability to create dynamic segments based on subscriber behavior:
- Target Inactive Subscribers: Segment those who haven’t opened emails in a while and send re-engagement campaigns with special offers or enticing content.
- Reward Loyal Customers: Identify your most frequent buyers and create a segment for exclusive discounts or early access to new products.
- Retarget Website Visitors: Leverage Mailchimp’s integrations to segment subscribers based on their website behavior. For instance, send a reminder email featuring the abandoned items to those who abandoned their cart.
Remember, there is nothing wrong in beginning with broad segments based on demographics or purchase history. As you collect more data and analyze campaign performance, you can refine your segments for even greater personalization.
Also, experiment with various criteria and messaging to optimize your results. A/B tests different segmentation strategies to see which resonates best with your audience.
3. Include Dynamic Email Content
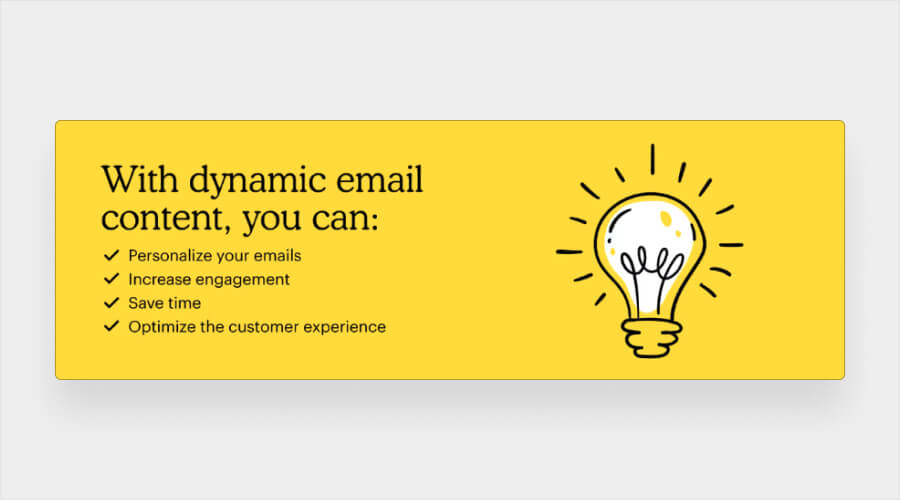
Image Source: Mailchimp
Even if you use pre-built and custom html email templates, you can launch personalized email campaigns for your audience.
Dynamic email content is personalized content within an email, tailored specifically for each recipient. Instead of sending the same old message to everyone on your list, dynamic emails adapt based on who’s receiving them. This ensures your emails are relevant, engaging, and always hit the mark.
Mailchimp’s powerful tools make it easy to set up dynamic elements that automatically adapt to your audience. You can control what information each subscriber sees based on specific criteria, eliminating the need for multiple versions of the same email. This saves you time and effort while boosting personalization.
Basically, you can set conditions to determine who sees what. For example, you could have a “Promo Code” section that only appears for subscribers in your “Patrons” audience group.
But don’t worry—you don’t have to personalize every part of the email. The goal is to tailor key elements to match your subscribers’ preferences and behaviors.
Only the relevant content is displayed for each subscriber when you send the email. Patrons see the promo code, while others don’t. This way, you deliver a personalized experience without the manual effort, making your email marketing much more efficient and effective.
Here’s the gist of how to leverage dynamic content features in Mailchimp for impactful email personalization:
- Segment your audience strategically based on campaign goals.
- Craft tailored messages for each group using dynamic content features.
- Utilize merge tags for personalization, varied content blocks, personalized images, and customized CTAs.
- Define criteria to determine when and where dynamic content is displayed.
- Launch your campaign confidently, knowing you’re delivering personalized messages efficiently.
P.S. This feature is available with Mailchimp’s Standard or the higher plans.
Also Read: Steps to Create an Irresistible Email for Lead Generation
Conclusion
So, you’ve got the hang of personalizing emails in Mailchimp? Fantastic! Dive deeper into Mailchimp’s robust tools for even more impactful results. With strategic audience segmentation, dynamic content, and tailored CTAs, your email marketing will soar. Start with auto-generated segments using tags, and as you gain confidence, delve deeper into building personalized campaigns for maximum impact.


