It’s true that it’s easy to record audio, especially with recording applications available all over the internet. But there’s a difference between professional and amateur audio recordings.
For people looking to launch their own podcasts, it’s totally understandable if the sound quality isn’t there yet. As you keep going, you can learn more about podcast recording devices such as condenser mics, soundproofing equipment, and other equipment. You might also have to get started with learning and understanding technical things like audio analyzers and postproduction.
To give you a boost, in this article, you’ll learn some keys to improve your podcast’s sound quality.
1. Choose The Recording Environment
When recording your podcast, choosing the right place could make a world of difference. Ideally, setting up in a fixed location would be more advantageous because you don’t have to keep setting up your equipment when you have to record.
A quiet area would also be best since you wouldn’t want disruptive sounds of cars, barking dogs, and other outside noises interrupting you or your recording. While some noises could be taken off in postproduction, it could be a complex process, and some noises might be impossible to remove. Therefore, secure a quiet recording environment where you can permanently set up your equipment. If you have the means, you may want to convert it into a dedicated recording studio in the future.
Pro tip: Record in a place where you could feel natural and comfortable speaking into a microphone. If you feel awkward recording an episode, it’s best to be in an isolated location to boost your confidence.
2. Record In A Closet Or A Small Space
Not everyone has the space for an entire recording area in their homes. This is why so many podcasters recommend recording in a closet or a similarly small room.
The closet is a great space to record because sound can be absorbed so that it doesn’t bounce around and cause echoes. And because sound is absorbed, the sound can have less interference and outside noise.
- Why Recording In The Bathroom Isn’t A Good Idea
There’s a misconception that bathrooms are the best places in a home to record audio. But the best place would depend on what kind of audio and sound you’re going for.
For a podcast, you might want to avoid distorting how your natural speaking voice sounds. Making sure that your voice is crystal clear allows your listeners to focus on the topic better. It could even determine the success of your podcast and whether you get regular listeners or not.
If you record in the bathroom, your voice could sound hollow, and your microphone might pick up echoes. This is because the hard surfaces in the bathroom don’t absorb sound well and will bounce the sound around.
3. Switch To A Condenser Mic
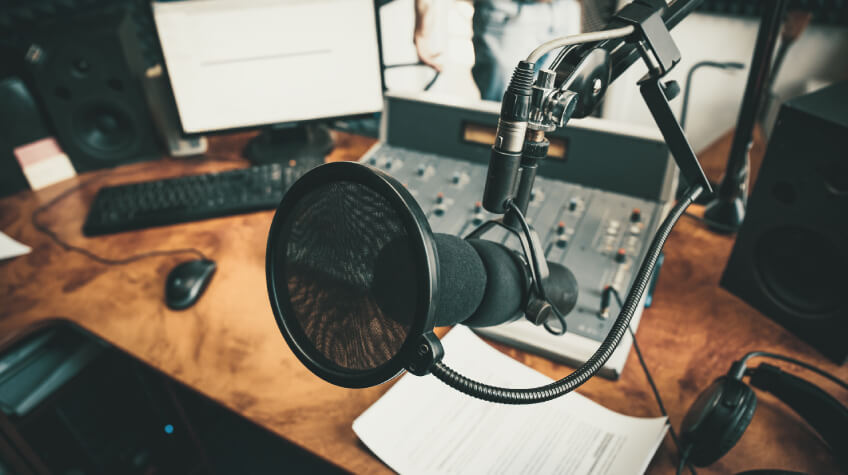
Getting proper equipment is also one of the best ways to get better sound. While the built-in mic on your phone, computer, or camera could be decent, it probably won’t compare to a condenser mic.
These microphones are fantastic for accurately recording individual voices and are great if you have a lower speaking voice. But because these microphones are so sensitive, they might pick up other noises in the area. This is why recording in the right environment would still be necessary.
Pro tip: Look for reviews for condenser microphones to find out which ones would be the best for your budget.
4. Use A Windscreen Or Pop Filter
Another way you can improve the sound quality while using a microphone is to add a windscreen or pop filter. There are all kinds of accessories that you could add to your recording studio. It might be a good idea to list all of them down so you can purchase them at the same time.
When you record, you might notice how some movements, breaths, or air could mess up the audio. They add more unwanted noise that might make the podcast unpleasant to listen to. A windscreen or pop filter could reduce or completely get rid of these unwanted noises.
5. Set Up With A Mic Stand
The following accessory that could make recording with a mic better is a stand. You can imagine how impractical and tiring it is to hold the mic while you speak. So aside from the windscreen or pop filter, you might want to add the mic stand to your set.

It allows the mic to stay steady, which means that the audio would be more consistently recorded. If the mic moves around, it’s going to cause some noise and inconsistent recording. And if you’re using a condenser mic, it’ll pick up sounds from handling and moving them around.
6. Set Up The Mic At A Distance
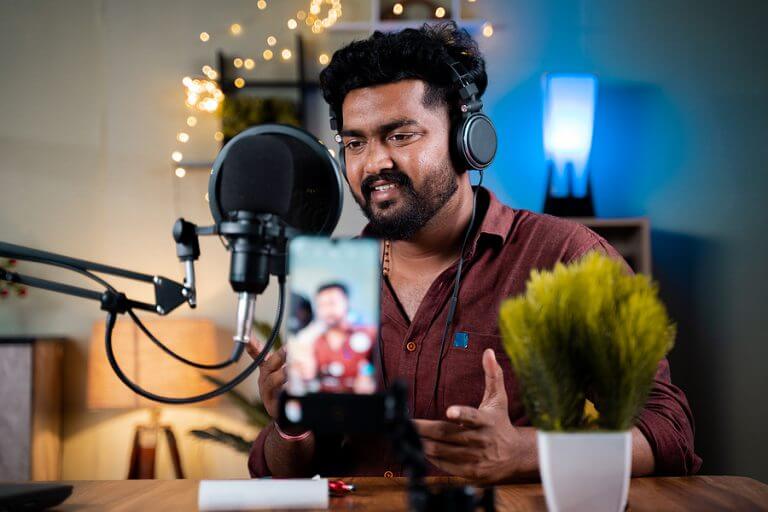
Once you have your mic set up ready, you could figure out where to position it in your podcasting space. Again, a condenser mic is extremely sensitive, so placing it right in front of your face will pick up little noises such as breathing and lip smacking. Setting the mic at a distance and slightly off center will allow you to record your voice and avoid unwanted noises.
Pro tip: Do some mock recordings just to check how the audio sounds in different angles or mic placements.
7. Get Soundproofing Equipment
Investing in equipment would be a surefire way to elevate the sound quality of your podcast. Soundproofing is another practical addition to your entire set. With soundproofing panels, you can absorb sound better and keep outside noises from being heard in the final track.
Soundproofing could be installed permanently into your home or you could use some panels that you could stick onto your walls. Look for ways to block out sound coming in from the spaces around doors and windows too.
8. Practice Your Plosives And Sibilance
Getting top-quality equipment probably won’t solve every recording problem. Some issues you’ll have to deal with by practicing. Speaking for podcasts takes some practice since all kinds of techniques could make your voice sound better through recording.
One of the mistakes that first-time podcasters might make is going too hard on plosives and sibilance. These are sounds like ‘p,’ ‘b,’ ‘f,’ ‘k,’ ‘t,’ and ‘s.’ And if you aren’t careful, you could overload the capsule in the mic and distort the recording.
You could remove them in post-production, but it might be a complicated process if you aren’t too familiar with audio editing and media production in general. Instead, practice these techniques to improve how you speak during recording:
- Set your mic at a distance.
- Don’t record with the mic right in front of your mouth.
- Practice breath control.
Pro tip: Record yourself reading a script with plosives and sibilance to hear how your plosives sound. Keep recording as you practice to listen to your improvements too.
9. Learn About Recording Levels And Monitoring
If you’re doing everything yourself, learning about the technical side of audio recording would be a huge benefit. Whether you’re starting with a micro podcast or want to elevate your episodes to sound more professional, technical processes matter. Here are some of the basics you could start with:
- Listen to the volume and adjust accordingly.
- Adjust equalization to get rid of plosives and sibilance.
- Use noise reduction to remove unwanted sound like static.
You could also try out hiring an audio editor if you have the funds for it.
10. Study Up On Postproduction
Postproduction is one of the more difficult parts of audio editing, and seeing the whole process could look incredibly intimidating. But the key to this is practice and starting with the basics. As you go, you could do all kinds of trial and error to figure out new ways to edit audio in post.
There are also all kinds of online tutorials on how to do this. Checking out all these resources would be a fantastic leg up for your podcast in the long run. For now, here are some of the first things you need to learn about postproduction you could start with:
- Use a digital audio workstation (DAW).
- Learn and practice individual track recording.
- Cut out the start and end of the track.
- Edit out unwanted portions like long pauses and tongue clicks.
- Use editing tools specifically for podcasts.
Again, for postproduction, you could hire an audio editor to do it for you. Some could do the editing on a per-project basis, but some podcasters have a production team that oversees the entire podcast, right down to postproduction.
What Makes A Podcast’s Sound Quality Good?
Take some time to listen to different podcasts, from professionally produced to more novice ones. You might notice these differences:
- Flowing topics and conversations.
- Leveled audios.
- No outside noises.
- Conversations are easy to understand.
Professionally produced podcasts likely hire expert audio engineers to achieve excellent sound quality. So if you’re a beginner, take your time and learn how you want your podcast to sound. In the end, how you produce the sound quality would depend on your branding as a podcast.
Wrapping Up
Recording podcasts might sound as simple as talking into a device. But so much of what goes on behind the scenes is unnoticed to most listeners. Preparing the segments, topics, and prepping any possible guests are essential steps to making a podcast well produced.
This form of entertainment relies on sound, so paying extra attention to sound quality would make a noticeable difference for your listeners. So you may want to get quality equipment, find out how to use them, and learn the ropes on audio editing.


